What you need to know to keep your beautiful timbers in top form.
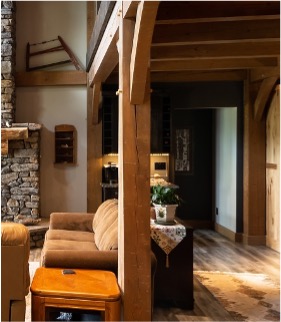
You made a great choice in choosing to feature timber in your home’s design. Thank you for choosing Cornerstone Timberframes to be your supplier of fine structural and decorative timber!
As a new owner of a timber frame there are only a few things you need to have in mind as the years go by. There are two items that are common to virtually all timber frame structures:
Let’s start by looking at the first issue:
Timber Checking (crack lines in posts and beams):
Humans have used timber in their homes since before recorded time, but only in the last two hundred years have our habitations become as separated from nature as they are now. In most ways, that’s been a great improvement, but when it comes to humidity, it means the air in our homes has never been drier – especially for homes in colder or higher parts of the country.
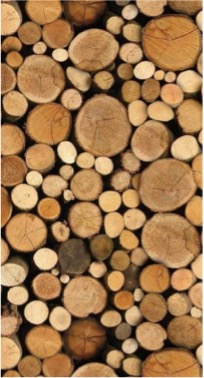
When a tree becomes a timber post or beam for your home it still holds a portion of its living moisture. At Cornerstone, our timbers spend time in a conventional drying kiln, but this can only draw moisture from the outer inch or so. This helps stabilize the timber and the kiln’s heat protects against sapstain. In the following months the remaining moisture will leave the timber. As it dries, it is also shrinking slightly in girth. Cracks will form parallel to the wood grain as tension is released. These are called seasoning checks. Checks can form in multiple fine lines on two or more sides or be concentrated in one larger crack on one face of a timber.
Seasoning checks are natural and unavoidable. Large timbers will usually have more checks than smaller timbers and these also tend to be more visible.
Reducing Checks
While you can’t avoid checks altogether, there are a couple strategies you can use to decrease their number and size. The idea is to slow the rate at which your timbers lose their moisture.
Treating Checks
Sometimes a large check occurs in a spot where it’s visually annoying. If your stain colour is dark, the check exposes the lighter coloured wood and it’s the contrast that catches the eye.
There’s an easy solution that many clients can apply themselves:
Use an atomizer-type spray bottle. These can often be found at pharmacies, hardware stores, and discount shops. The key is that it can spray a very fine mist.
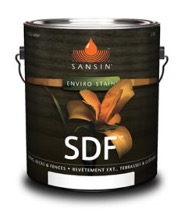
Fill it with the stain used on your frame. Contact us if you need to confirm the colour and strength applied to your timbers.
Test the atomizer on a piece of scrap wood or paper, so you have a feel for how it works. Then spray the stain into the checks you want to treat and use an absorbent cloth or paper towel to wipe up any excess or runs.
One pass usually provides good coverage. If a second coat is needed, check to ensure that the first coat is dry to the touch before re-applying.
While a check will never truly disappear, removing the visual contrast makes it much less noticeable.

Cleaning Timbers:
Sansin finishes are durable and easy to clean. Inspect your timbers’ appearance periodically, especially exterior locations where air borne dust and dirt exposure can be high. To return your timbers to their full lustre and beauty a simple, quick cleaning is needed. Use a soft cotton or microfiber cloth with lukewarm tap water and a small amount of gentle dishwashing soap. The cloth should be wrung out well, leaving it damp. Rinse your cloth frequently, change water, and add soap as needed. Finish the cleaning, with a final wipe down using clear water.
Maintenance of Sansin Finishes:
Your interior timbers are unlikely to require any finish maintenance for as long as you own your home. Possible exceptions may be handrails or other timbers that are frequently touched (like a post at a high traffic corner).
For your exterior timbers, maintenance is a routine that you will determine as you live in your home through many seasons. The key to success and an easy maintenance cycle is to observe where timbers need help and to be pro-active in protecting them. Sun and weather-exposure are the key determinants of where and when you need to apply a maintenance coat. Keep an eye on your most sun-exposed posts, fascia, and gable trusses. When you see a hint of cloudiness or fading in the finish this is your sign that a maintenance coat is needed.
Applying an exterior maintenance coat is straight-forward. You can do this yourself or hire a company that specializes in applying exterior maintenance finishes.
To purchase Sansin products:
Use Sansin’s online dealer locator. Your local Sansin dealer can help you with the right tools and their extensive experience using paints and stains. To ensure that you purchase the correct stain, tinted to the proper strength, please contact your Cornerstone sales representative and request the details of the stain colour applied to your timbers.
Application Methods:
Be sure to read and follow the application instructions on the can. Stain can be easily applied by brush.
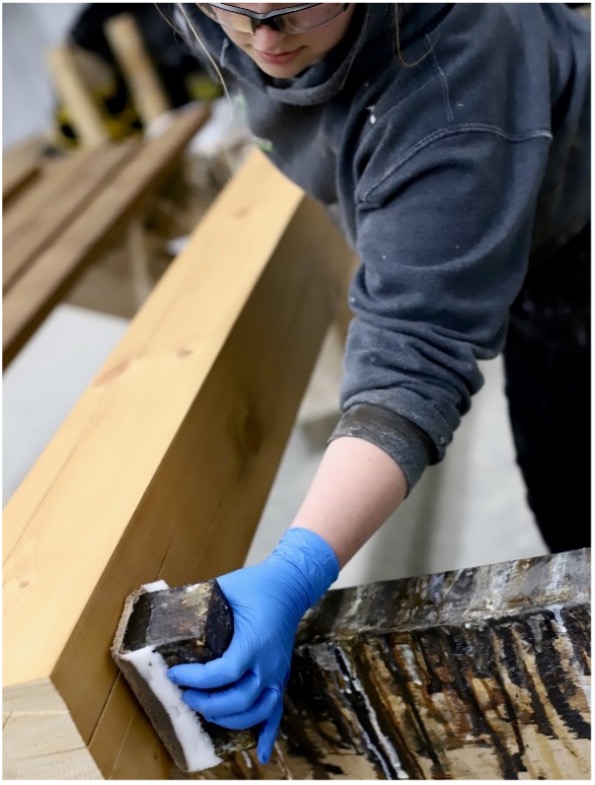
Cornerstone’s favourite way to apply stain is with a synthetic lamb’s wool pad, edge stapled onto a block of wood. These pads are available at most full-service paint stores. You simply dip the block with pad into your paint tray, remove any excess that might drip, and draw the pad along the timber, making sure you get good coverage, and watching for drips. Keep a wet edge, back brush as needed and you’ll soon have the job done!
If you have any questions for anything not covered in this blog, feel free to contact us!